If you’re looking to learn how to truss a chicken home all by yourself, this is the guide for you.
We’ve added a couple of tips and substitute ideas for trussing your chicken at home incase you don’t have the needed string at the time, before we get into the the main steps….
Table of Contents
What does it mean to truss a chicken?
This means to arrange your chicken for cooking by binding close the wings or legs with a string before roasting/cooking. Trussing your chicken helps it cook/roast evenly with no burnt parts afterward.
In this article, you’ll find step-by-step ways on how to truss your chicken with a string. Also, you’ll find a way you can truss your chicken without a string or any other alternative.
Before I go into that though, here are some things you can use to truss a chicken if you don’t have a string.
Substitutes for a string when trussing your chicken
1. Dental floss
Use this the same way you’d use your string but you might have to double it because your dental floss might not be as strong as a string.
2. Butcher’s twine
Go to any butcher you know and ask for enough twine. This can be used in the exact same way as a string. No need to double it up because it is as strong as (if not stronger) a string.
3. Aluminium foil
Pick up your foil and fold really thinly. When using this though, you’d have to be patient as it might not work as fast as a string, but it is an alternative.
4. Skewers or Toothpicks
Skewers would be a better option because they’re longer and a little stronger than toothpicks. To use these, soak your skewer/toothpick in water.
When it’s wet, use it to hold the wings of your chicken together so that they’re resting on the breast of the chicken, and so the same for the legs of the chicken. You can use more than one skewer/toothpick if absolutely necessary.
Now that you know some things you can use as an alternative when you don’t have a string to truss a chicken, here’s how to truss a chicken.
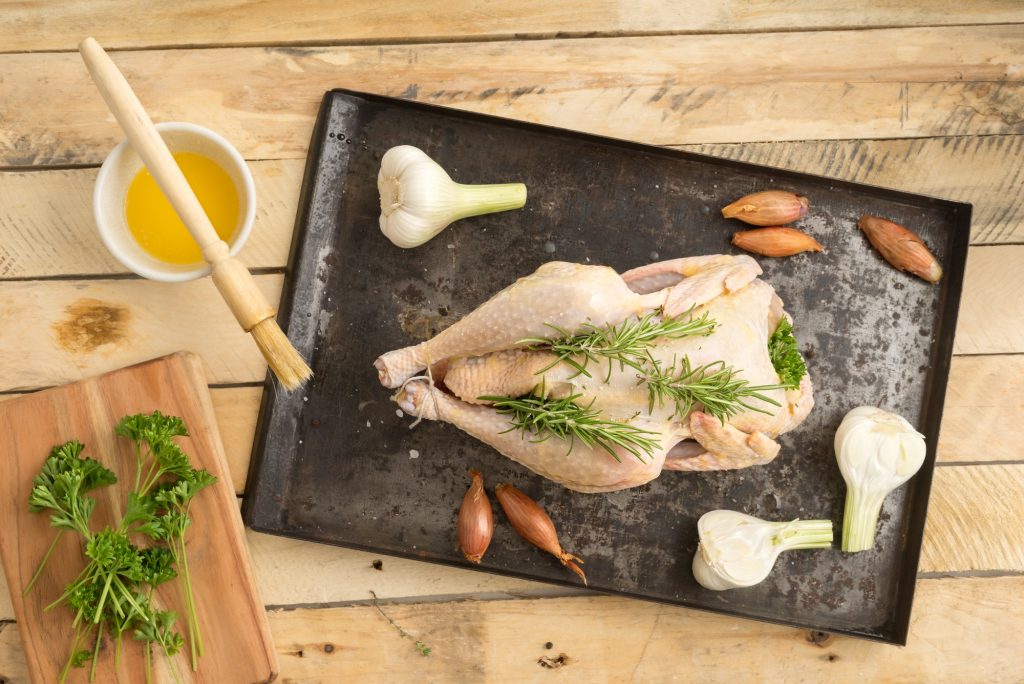
How To Truss A Chicken
- Step 1
Pat your chicken dry with a tissue and ensure it’s completely dry.
- Step 2
Cut up enough string (3ft of string should do it), rinse and dry up.
- Step 3
Place your chicken so it’s breast-side is facing up, pick up your string and run it under the chicken till it gets to a little below the wings, then, take it over and about the wings and draw it tightly together.
- Step 4
After drawing the wings tightly together with the twine, now cross it underneath the top of the breast and tighten. This means you’ll be tightening the wings together by the sides of the chicken breast.
- Step 5
Then, go over and under the legs, pull them tight while pushing towards the thighs, then tighten very well. Make a knot at this point. Just a little knot to keep what you tied from loosening.
- Step 6
Next, flip your chicken, cross the twine/string tightly over the tail of the chicken, pull tight and now, you can tie off with a very firm knot.
- Lastly, cut off the extra string left and throw it away. Do not keep to reuse.
After doing all these, your chicken is well trussed and ready to be roasted/cooked.
What do I do when I don’t have a string or any other alternative and I want to truss my chicken?
Well, here is a step by step procedure on how to truss that chicken when you don’t have a string or any other alternative.
- Step 1
Look closely at the cavity of the chicken, close to the legs. You’d see skin flaps on either sides of it.
- Step 2
Pick up your sharp cutting knife and cut a small slit (in length) in the center of each flap. You want to make sure your cut goes through the skin very well. After cutting, you can use your fingers to widen the slit if you think it’s not wide enough. Just make sure a finger can fit into the slit you made.
- Step 3
Next, take the chicken leg on the right side and tuck it into the slit/flap on the left side, do the same with the chicken leg on the left side and tuck it into the slit/flap on the right side. After doing this, the legs of your chicken should be crossed over themselves.
- Step 4
As for the wings, twist them away from you and towards the back and let them rest underneath the chicken, so that the weight of the whole chicken keeps them down.
And voila! Your chicken is trussed and ready to be roasted without you needing to use a string.
Wrapping it up
It is not absolutely necessary to truss your chicken but it is advisable as it makes sure your chicken cooks evenly and no part is cooked more than the other.
Most importantly, when you truss your chicken and roast it, you have a well roasted chicken at the end with absolutely no burnt parts (most especially the wings and legs).
So, if you never used to truss your chicken, you can start to make it a habit. You’ll be pleased with the results.